
When our daughter was only two, she preferred peanut butter sandwiches to nearly everything else. Because she was underweight, an older friend encouraged me to start baking bread from scratch, and then she showed me how to do it. That, plus natural, sugar-free peanut butter was a staple during a season when she needed lots of healthy calories. I loved being able to make with my hands what she needed to thrive. Since then we've all grown to love homemade, healthful bread. Many friends have asked over the years how I do it. "Why is my bread like a brick?" they wonder. "What's the secret to getting the dough to rise?" they ask. "Why is my bread so crumbly?" I've answered these questions in emails, Skype tutorials, and phone calls. The short answer is practice. But there are some tricks and techniques that make all that practice more productive.
If you've ever wanted to bake bread, or have been frustrated in your efforts, here’s a quick lesson. Let's begin.
Bread baking is part science, part art. The artful part — flavors, add-ins, shapes — comes after you get the science part down — yeast, rising, baking.
I have two machines that make this a lot easier: a NutriMill grinder and a Bosch mixer. But with a KitchenAid (or similar stand mixer) and freshly ground wheat, this recipe will work if you cut it in half.


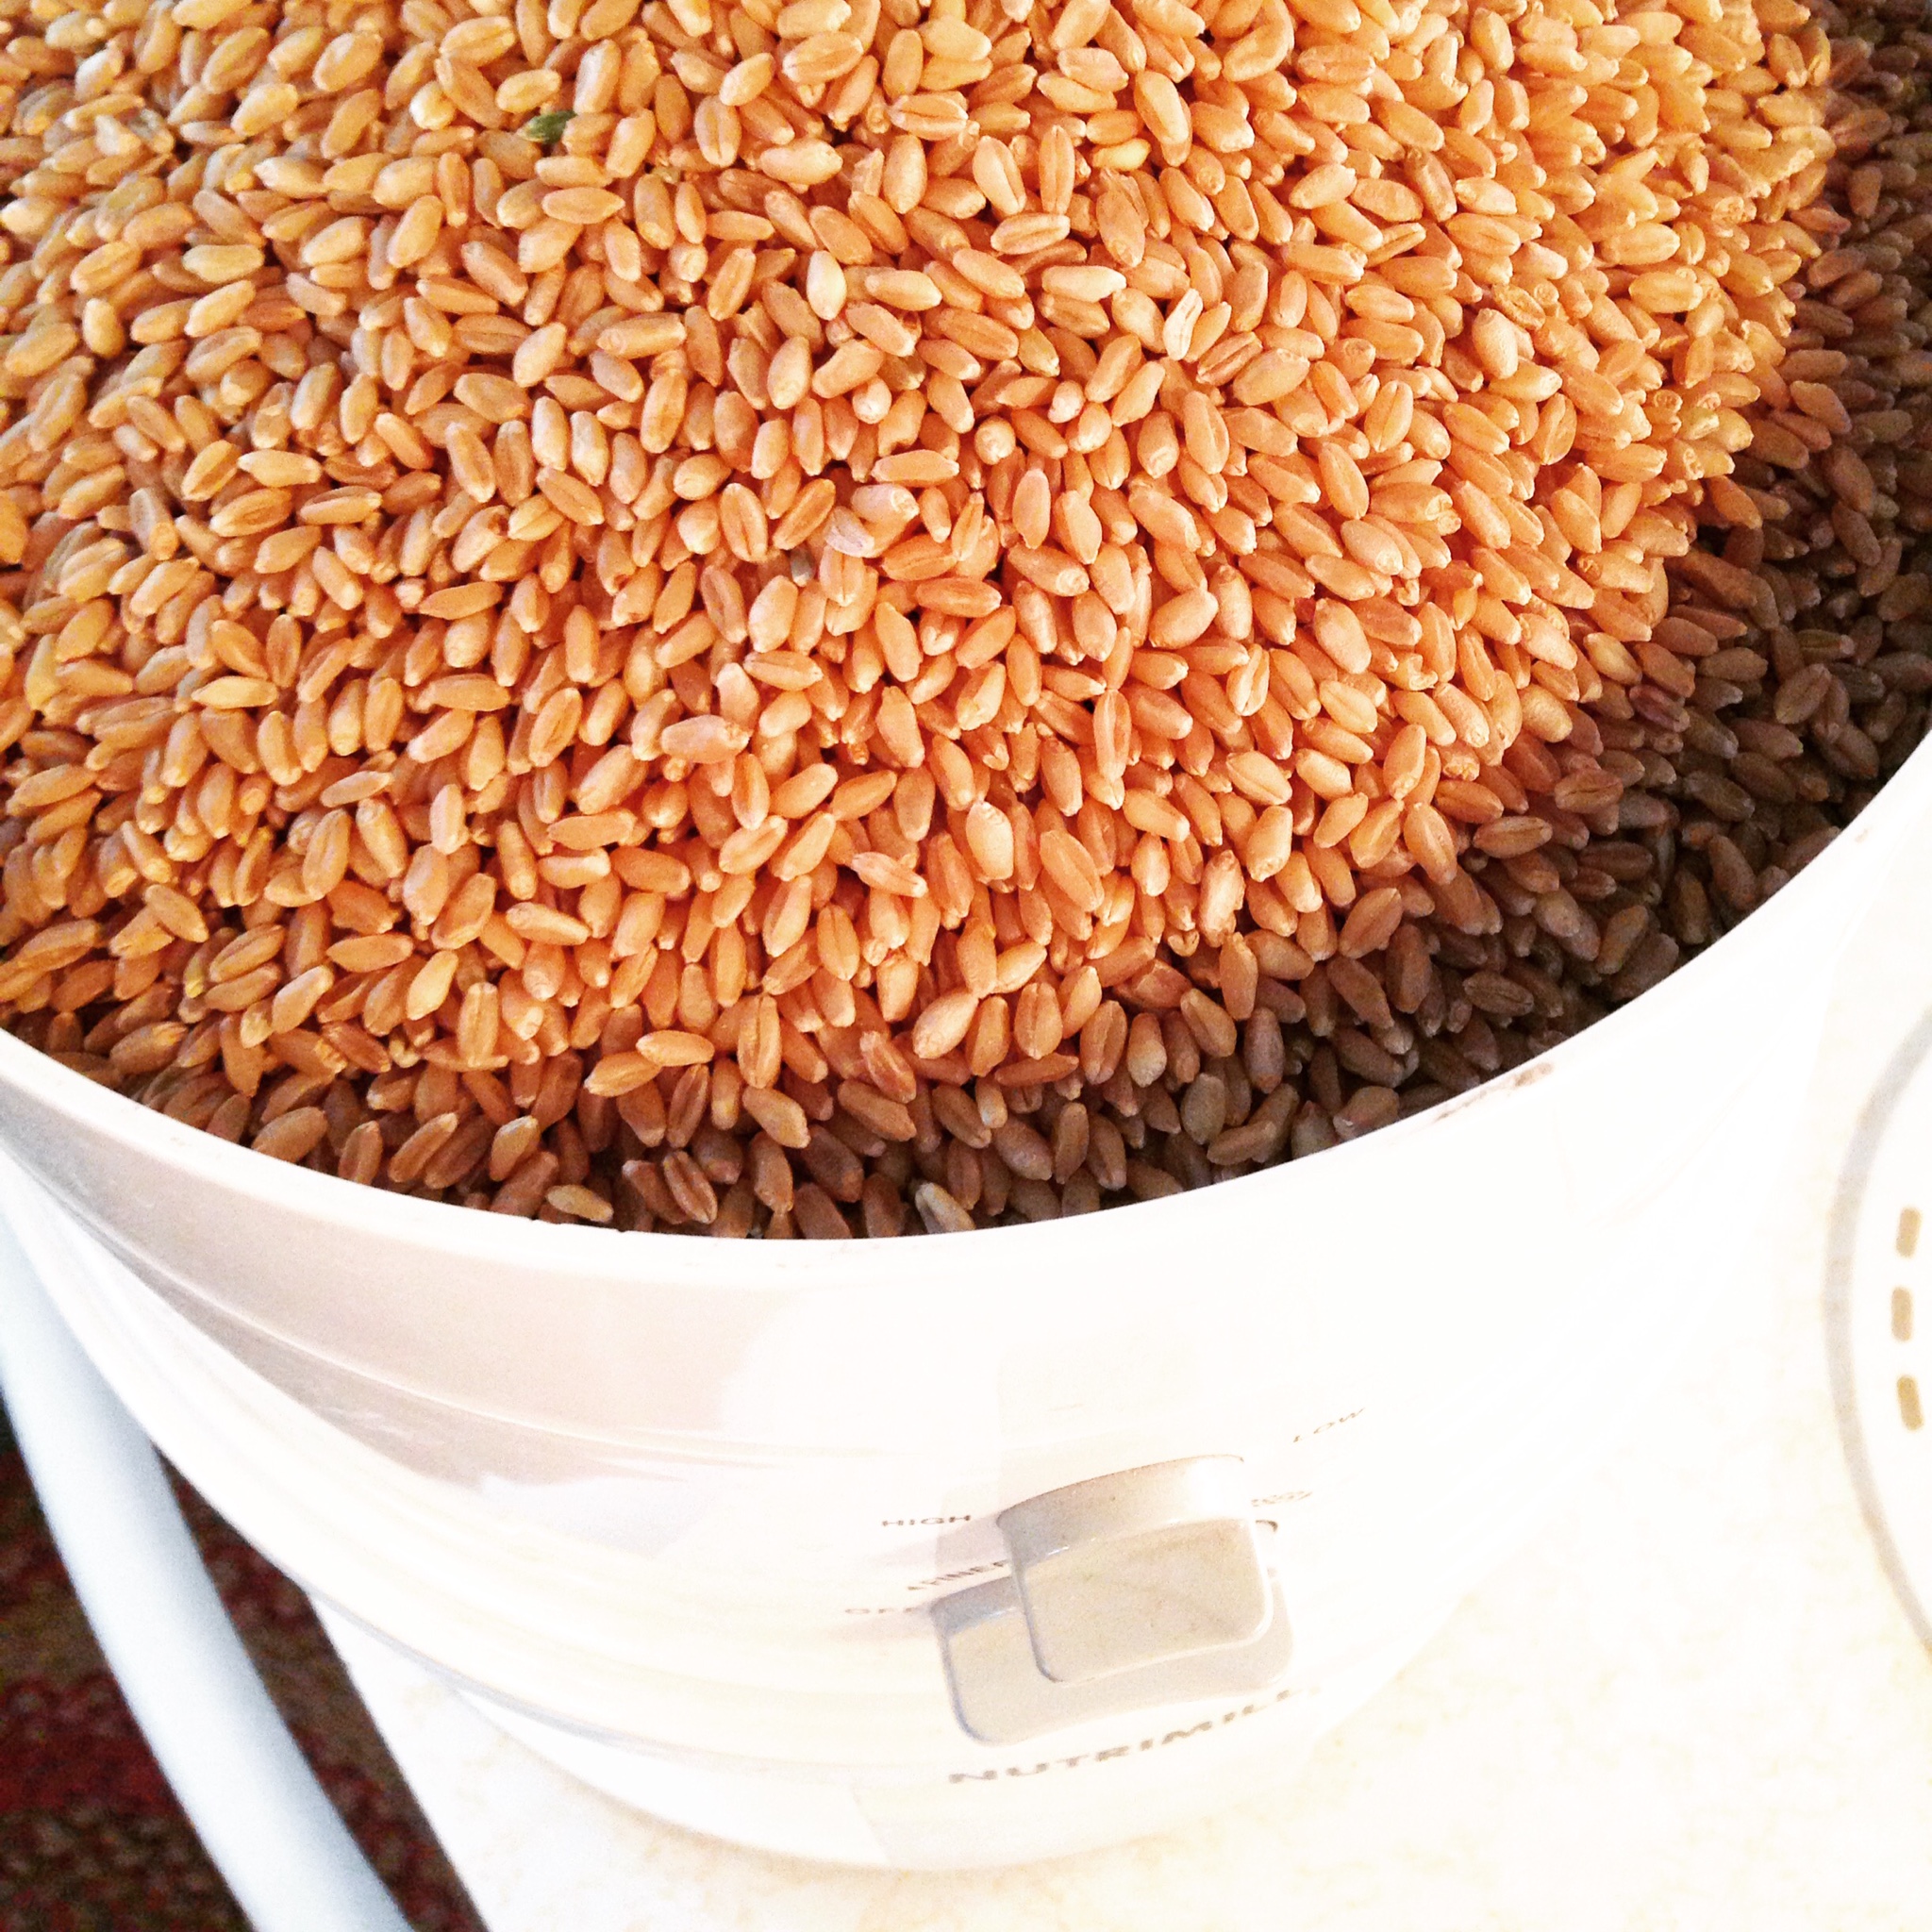
I start with white wheat, it makes light and fluffy bread that’s hearty. Unlike the hard wheat bread that made "brick" loaves in the '70s, this makes loaves that are soft and more like store-bought (a plus for kids). Then I grind it in my handy Nutrimill grinder. It takes only 5 minutes to make fresh flour.
This is what it looks like going in.
This is what it looks like coming out. And it’s very warm, which is a boost to the yeast.

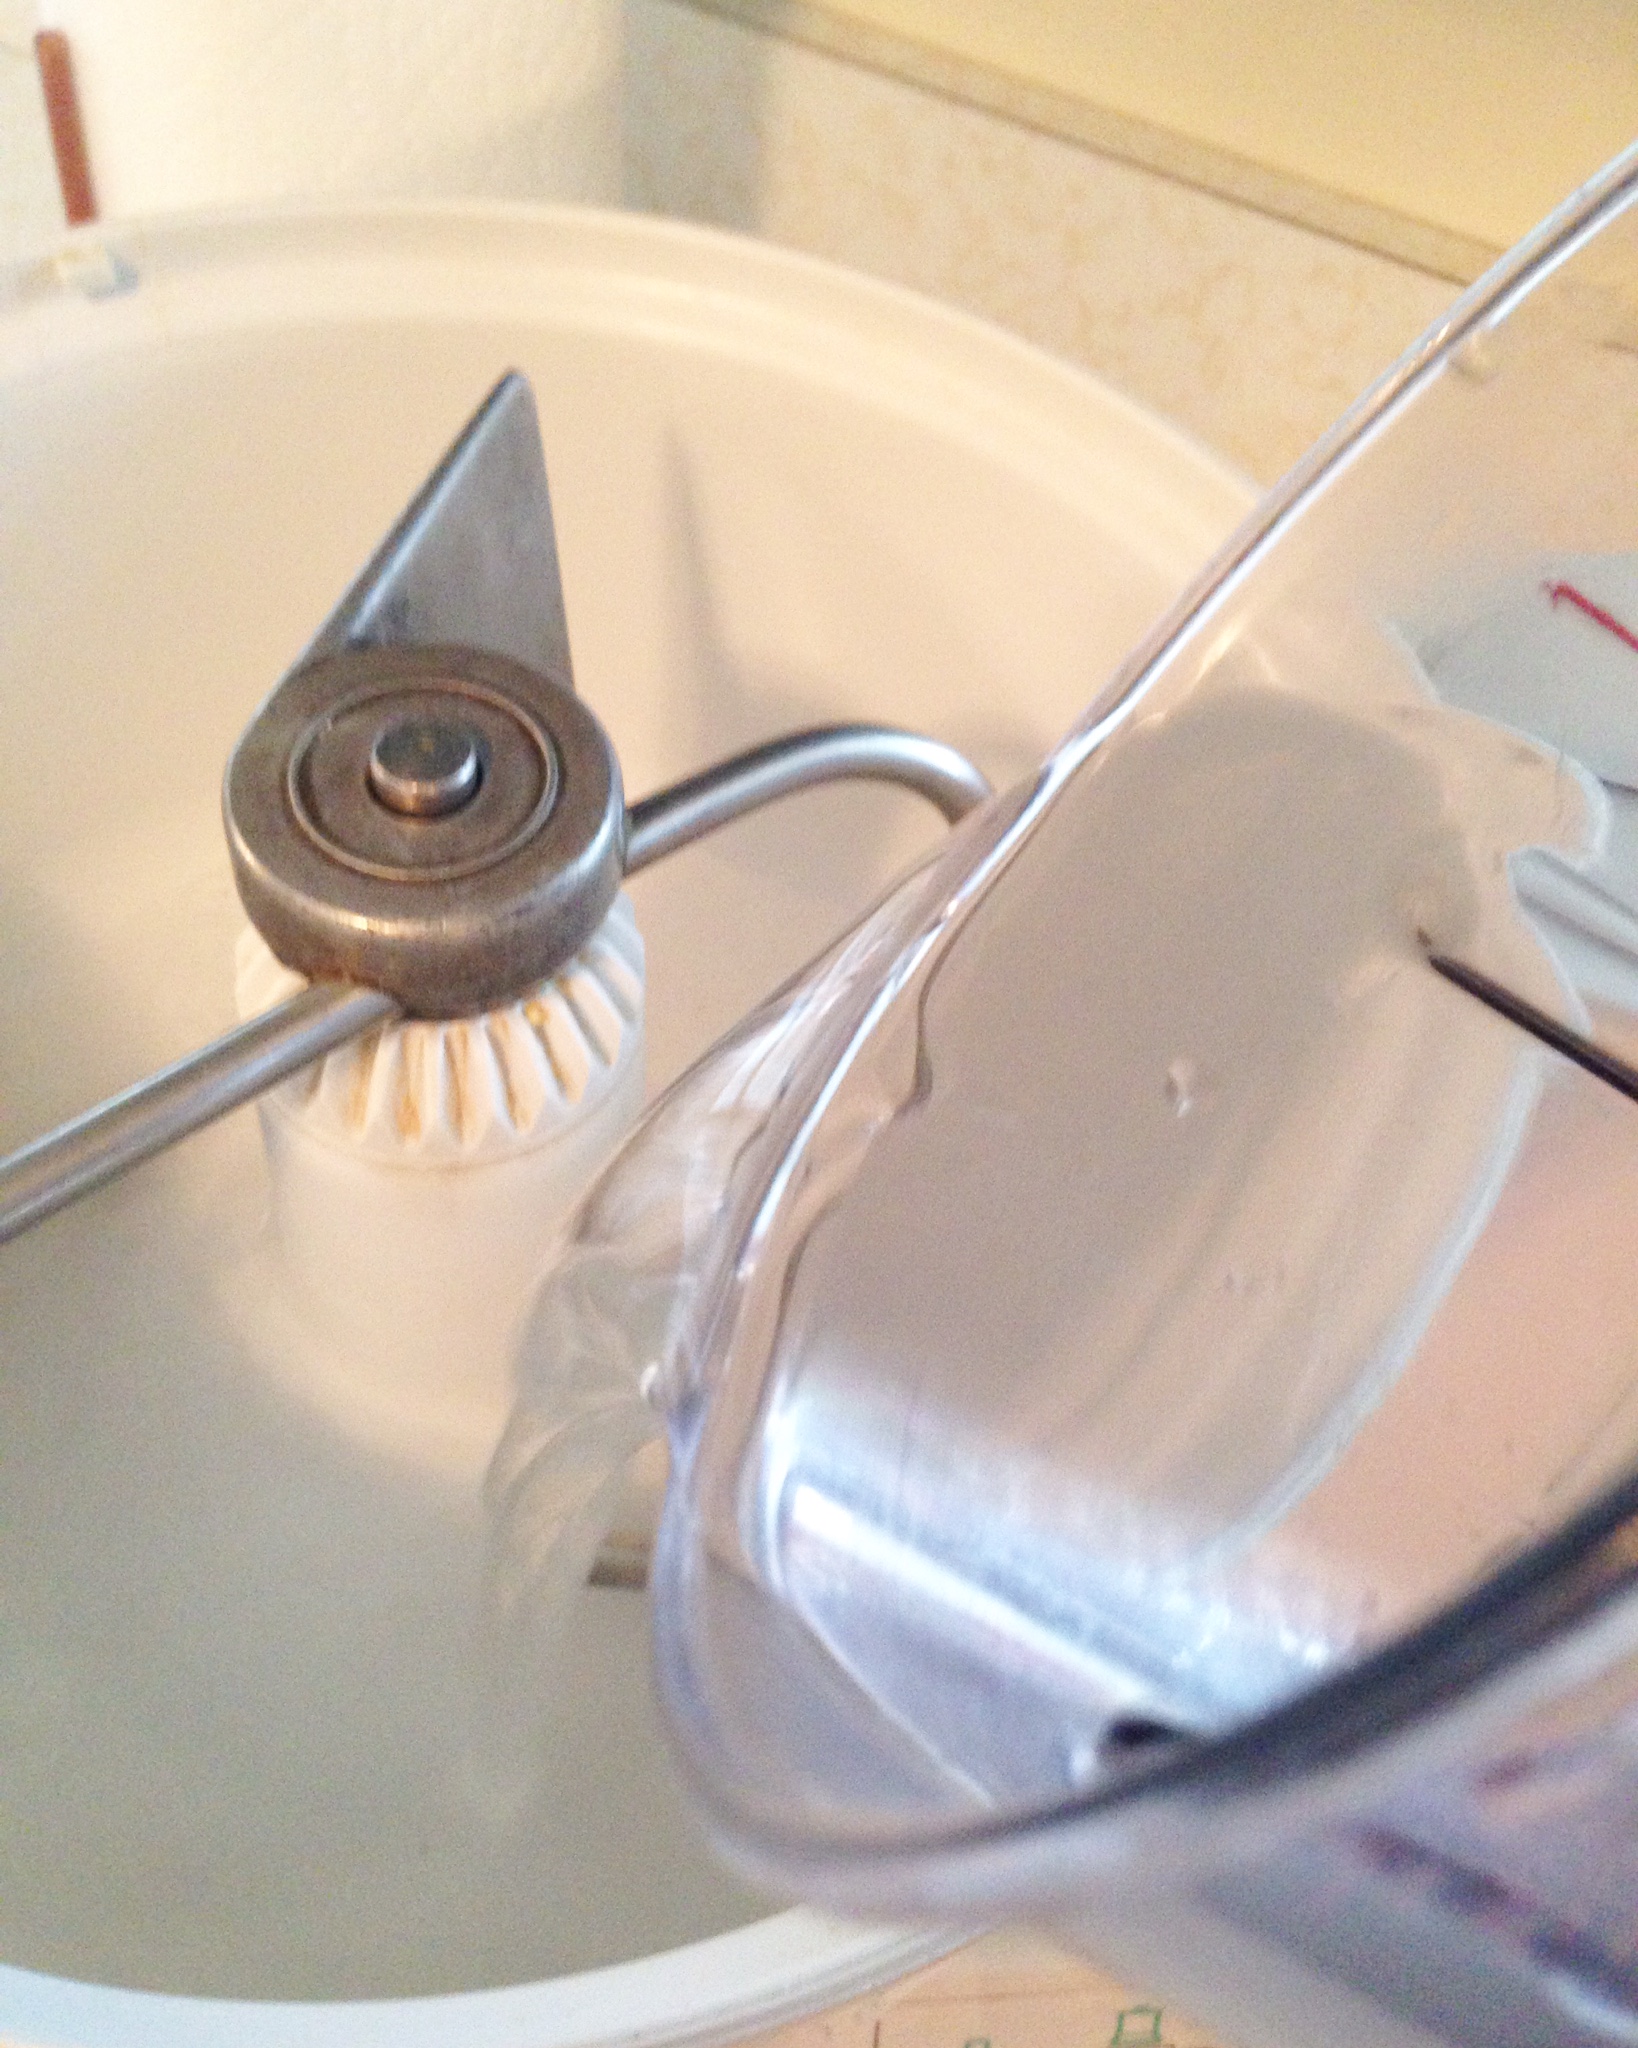
 Next, I measure 5 cups of hot tap water (run it till it steams), and pour it into my Bosch mixer (like a KitchenAid, only bigger capacity).

After the water comes the oil. Sunflower or light olive or whatever you prefer, anywhere from 1/4 to 1 cup. This ingredient is flexible based on dietary needs and/or restrictions.


Then the sweetness: honey. This, like the oil, can be varied, and maple syrup can be used if you don’t have honey. I use between 1/2 and 3/4 of a cup.


Here’s the Bosch. Almost ready to mix it all together.


The third ingredient is key: SALT. I use a heaping tablespoon. If you every forget it, which I have, you’ll know something’s wrong with your bread! I never realized how much salt brings out the bread’s flavor till I tasted bread baked without it. Yuck!


Fourth, dough enhancer. I get mine from the family-owned small business where I buy my wheat (it comes in 50 lb. bags, one lasts us about 3 months). Just one tablespoon per batch.


Now for the flour. You’ll need around 12 cups for this recipe. Fresh flour is essential. The stuff from the grocery has been sitting a long time, and all the nutrients have been dissipating. If you don’t have a grinder, try buying it from a store or bakery like Great Harvest Bread. I once tried to make this recipe with a bag of store-bought flour I had been keeping in the freezer (to hold onto as many nutrients as possible). It was a big gooey mess. The frozen flour wouldn’t accept the wet ingredients and everything just sloshed around and over the side of the bowl.


Finally, the yeast. I use SAF-Instant. I buy several packages at once and store all but the one I’m using in the freezer. That one stays in the fridge. This stuff is great. It doesn’t require activation with hot water and sugar. But the order in which you add it matters. If the yeast hits that hot, steaming water, it will die. Yeast is temperamental! It does best added last, atop that still-warm, freshly ground flour. 3 Tablespoons, please.


Time to mix. 5 minutes. The Bosch has an industrial grade motor; this step eliminates the need for a second rising.


Here’s what the dough should not look like. It’s a little too wet and is sticking to the sides. Stop mixer and add more flour. I added about 3/4 cup.
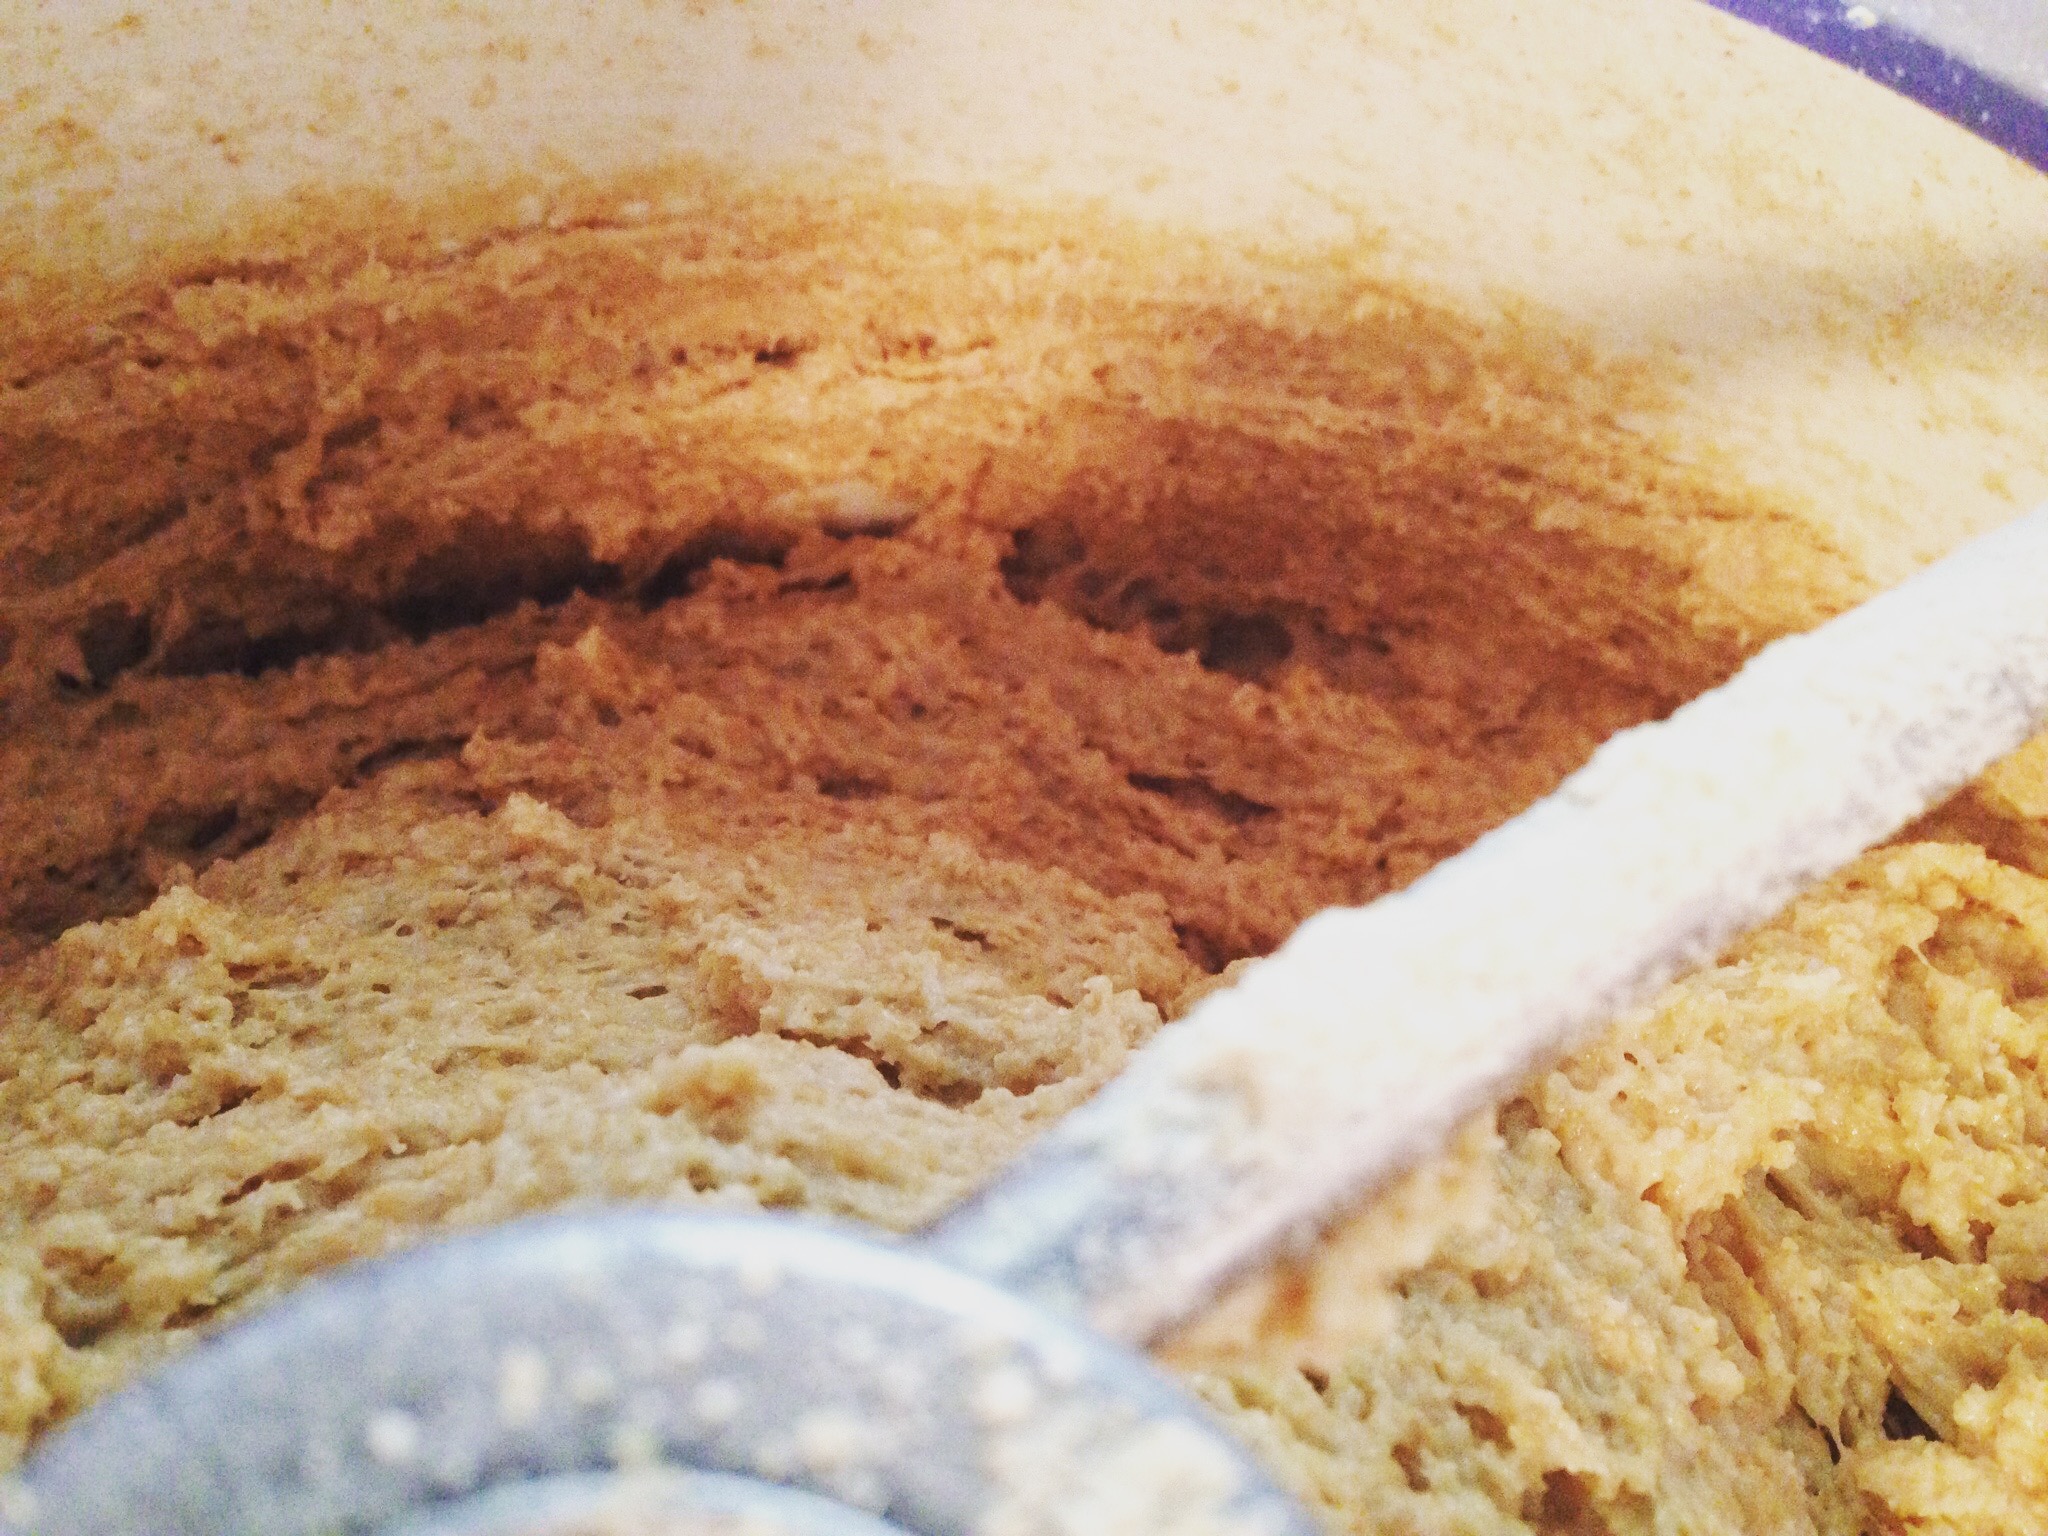
This is better. See how it’s pulling away from the sides? That's good. If it’s too dry, though, it will start balling up in the middle around the dough hook. Not good. That’s because soft dough makes soft bread. If this tight balling up occurs, stop the mixer and add a few tablespoons of water.


Looks like a fried egg, but it’s really just olive oil and bad formica. After five minutes, you should have soft, perfectly kneaded dough. You don’t want to re-introduce more flour and ruin your calibrations. Oil keeps the dough from sticking to the counter. And from your hands.


But just in case, take your rings off before you handle the dough.
Spread the oil out over the surface of your (freshly cleaned) work-station and oil your hands in the process.
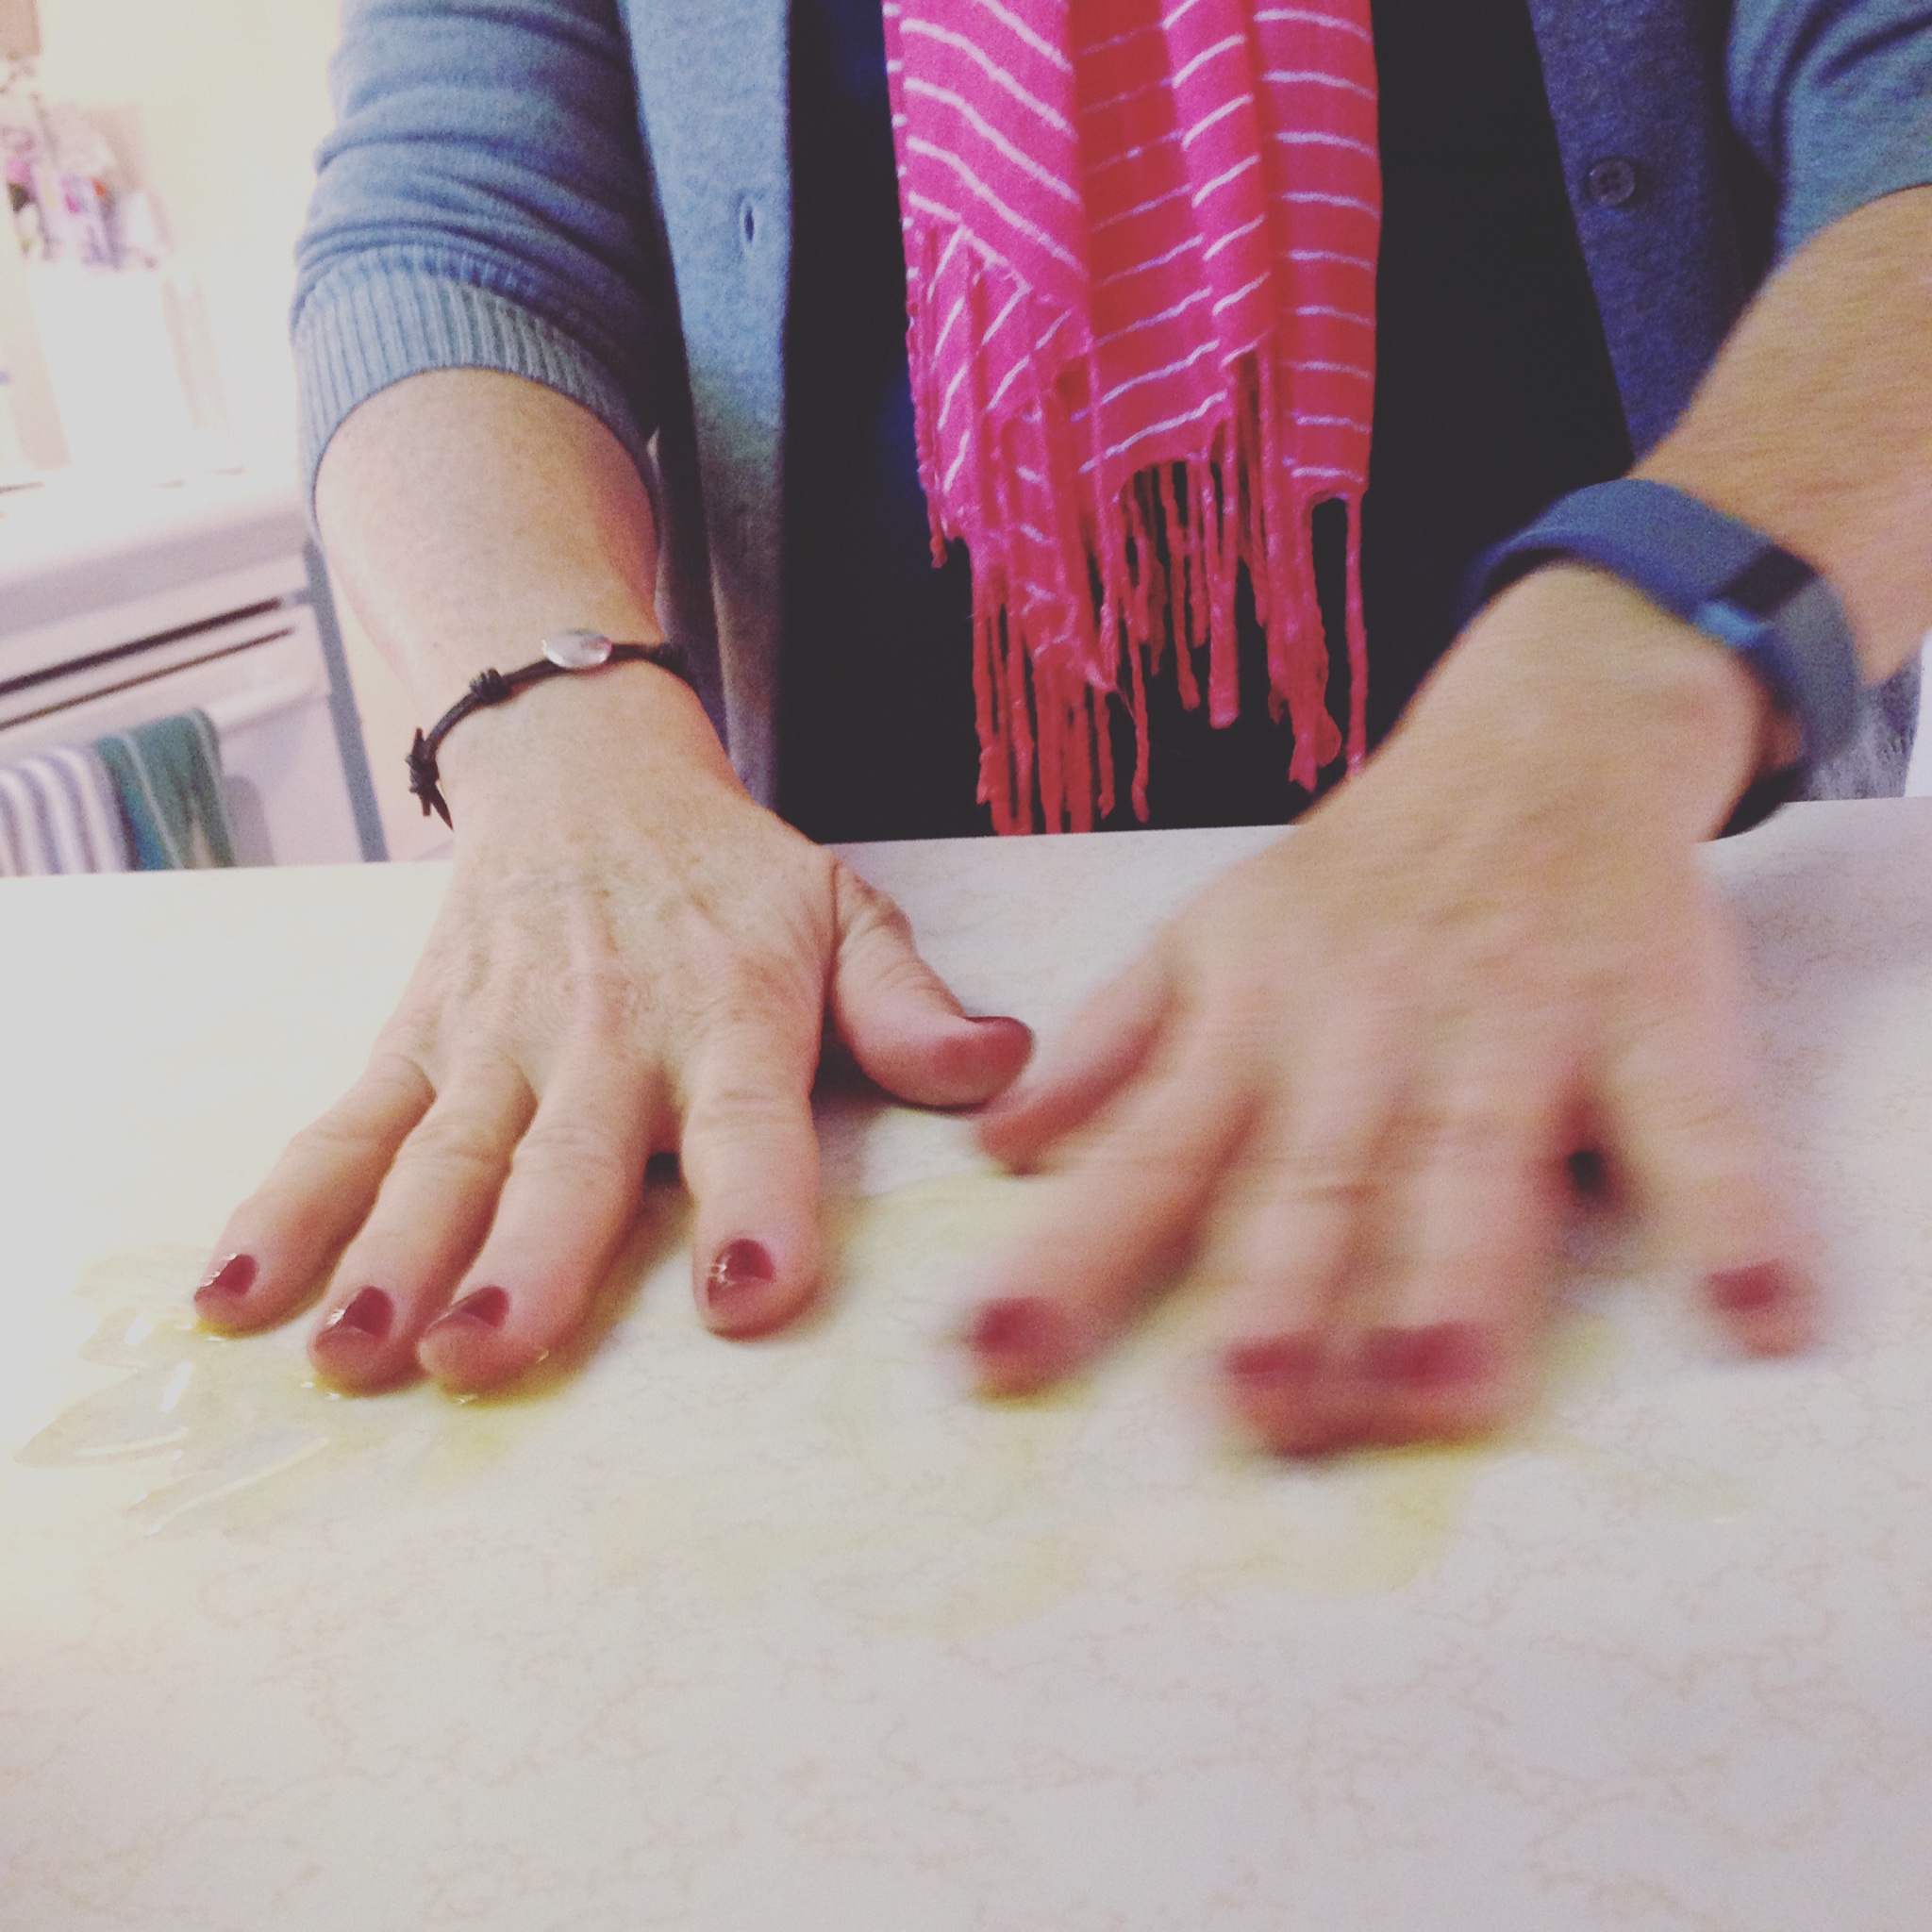

With lightly-oiled hands, pull all the dough out onto the counter. (Pay no attention to the dirty dishes in the sink.)


No need to knead. Just form it into a long loaf.


Depending on the size of your loaf pans (and they depend on the size of toast and sandwich bread you prefer), this recipe makes enough dough for up to five loaves of bread.

At this point, I pinch it into roughly equal portions.


Two of the lumps will be for bread.


I’ll bag one up for the freezer to use later this week for pizza. And the fourth I’ll turn into cinnamon rolls during the 30 minutes it takes for the loaves to rise.


Preheat your oven to 350 degrees, set the loaf pans on top of the warming stove, and grab your rolling pin.


Roll out that fourth loaf on the still lightly oiled work surface.
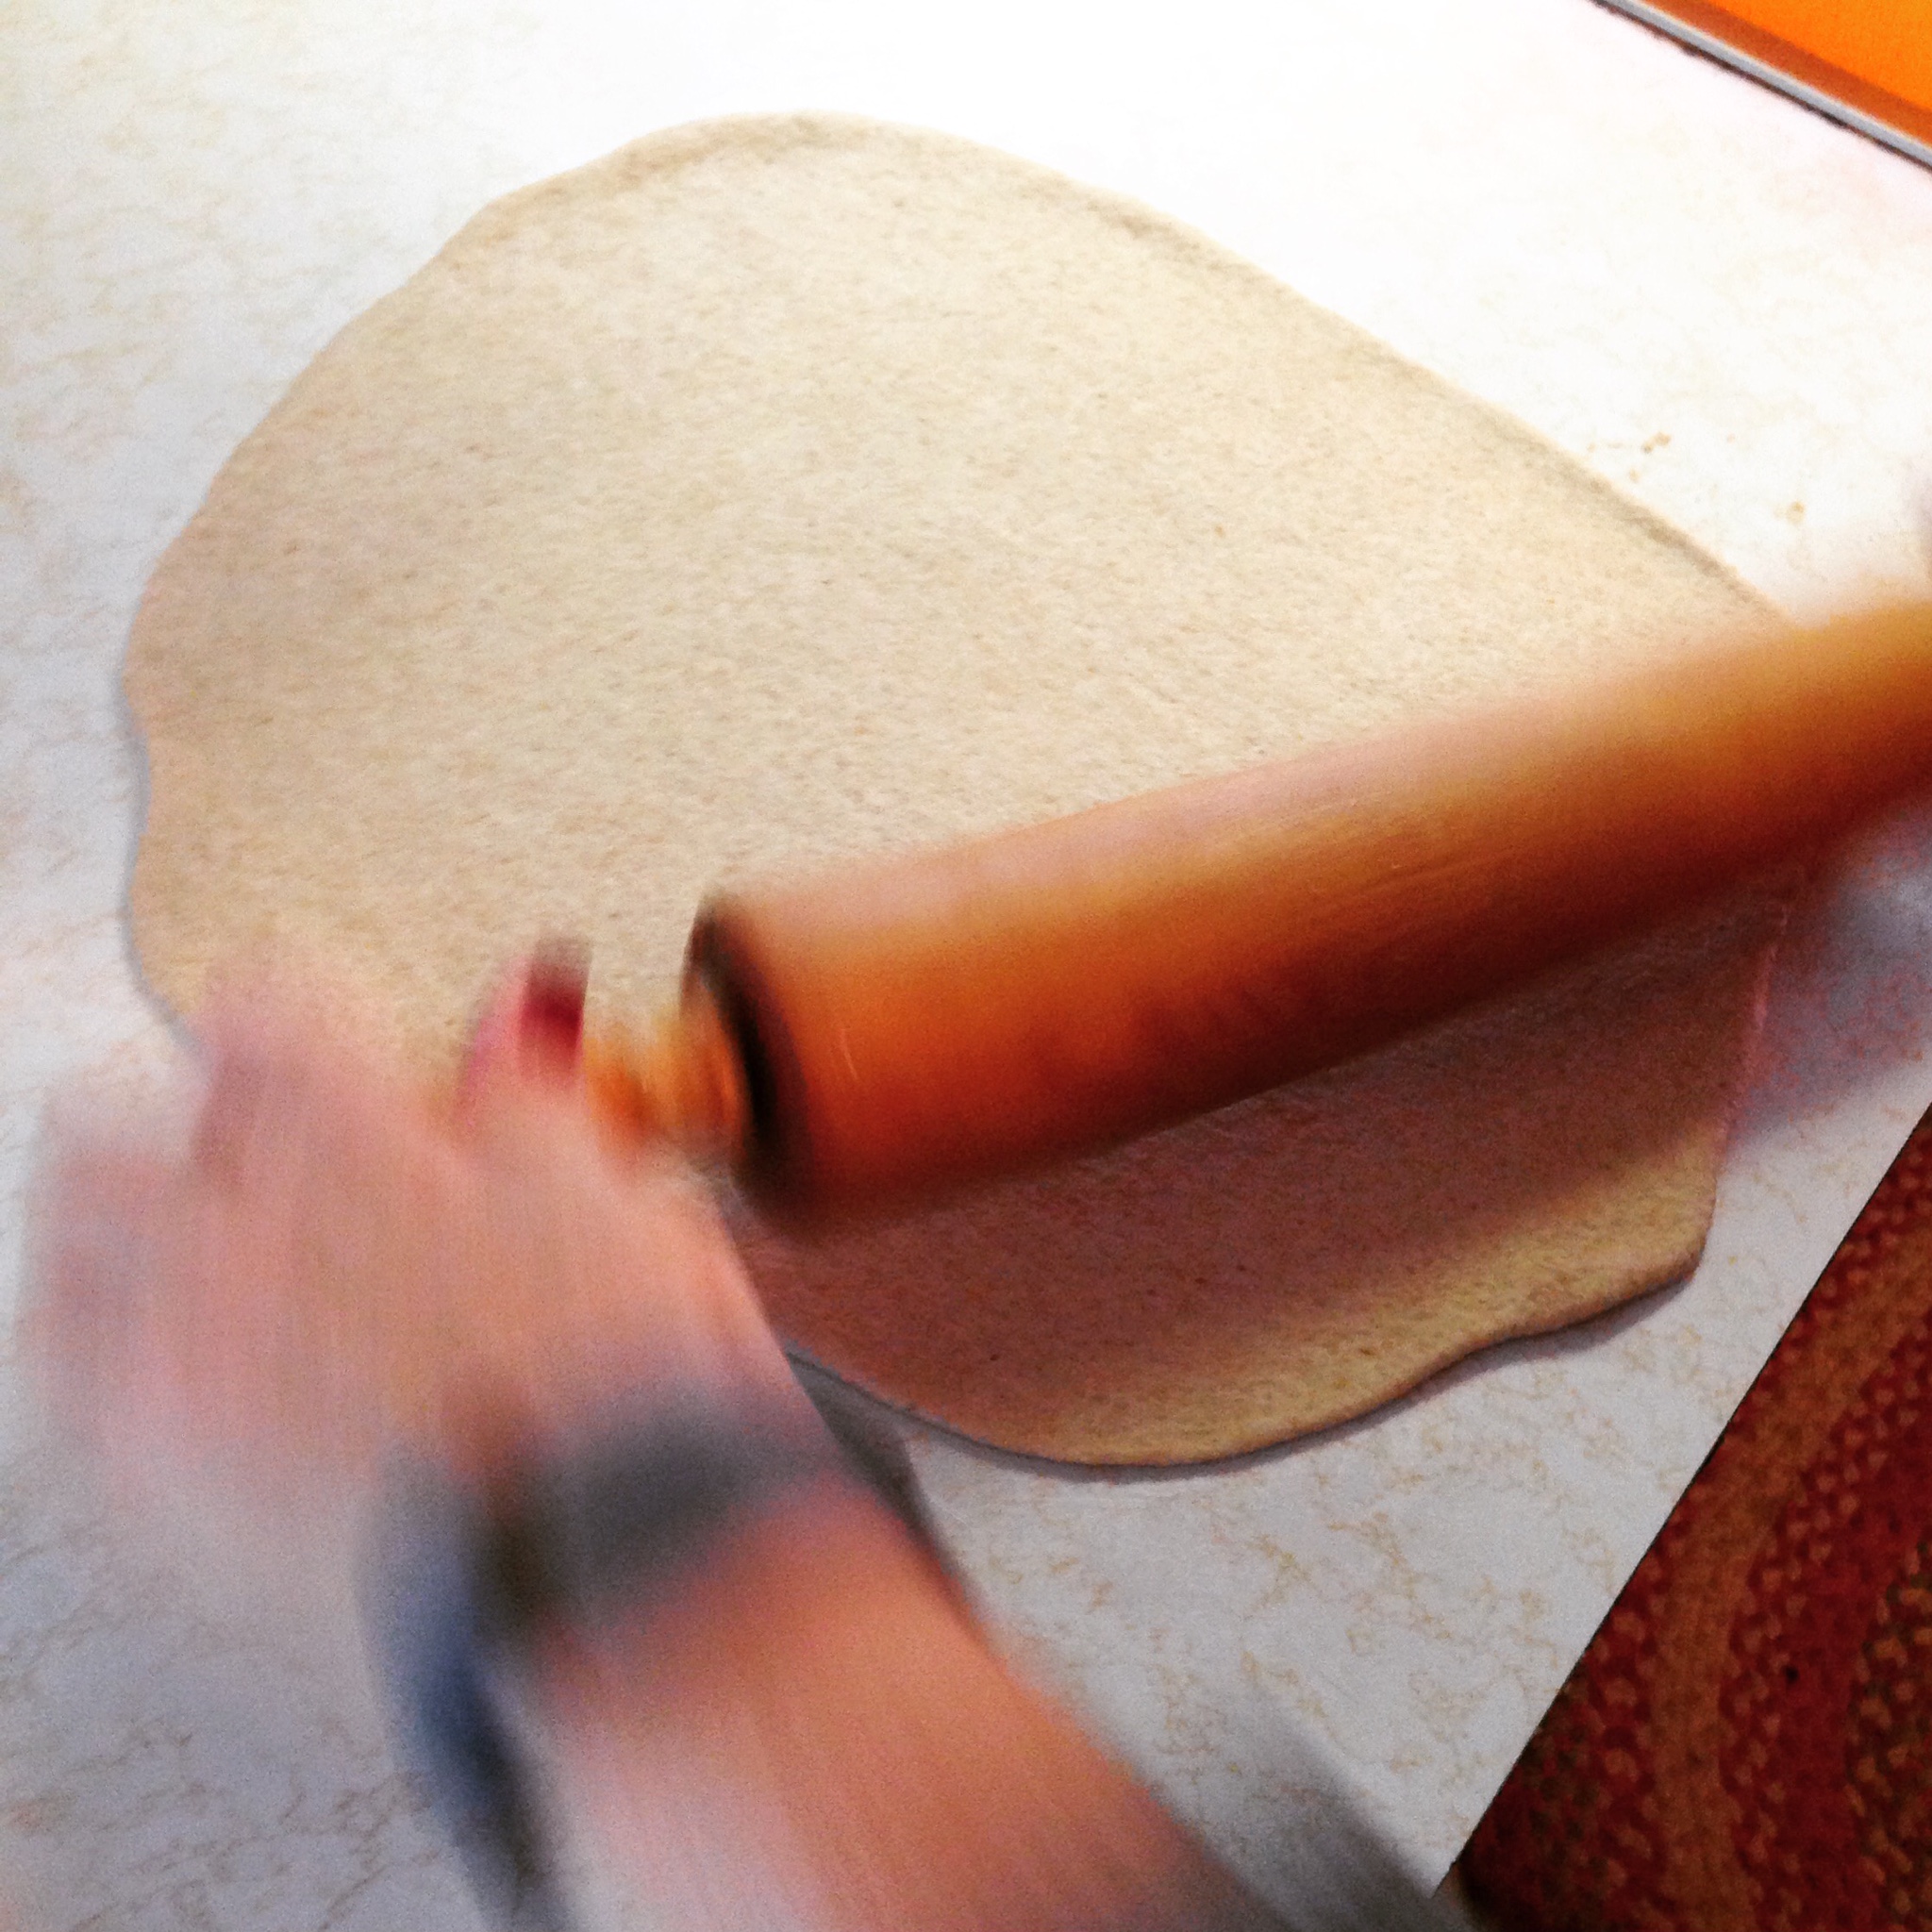

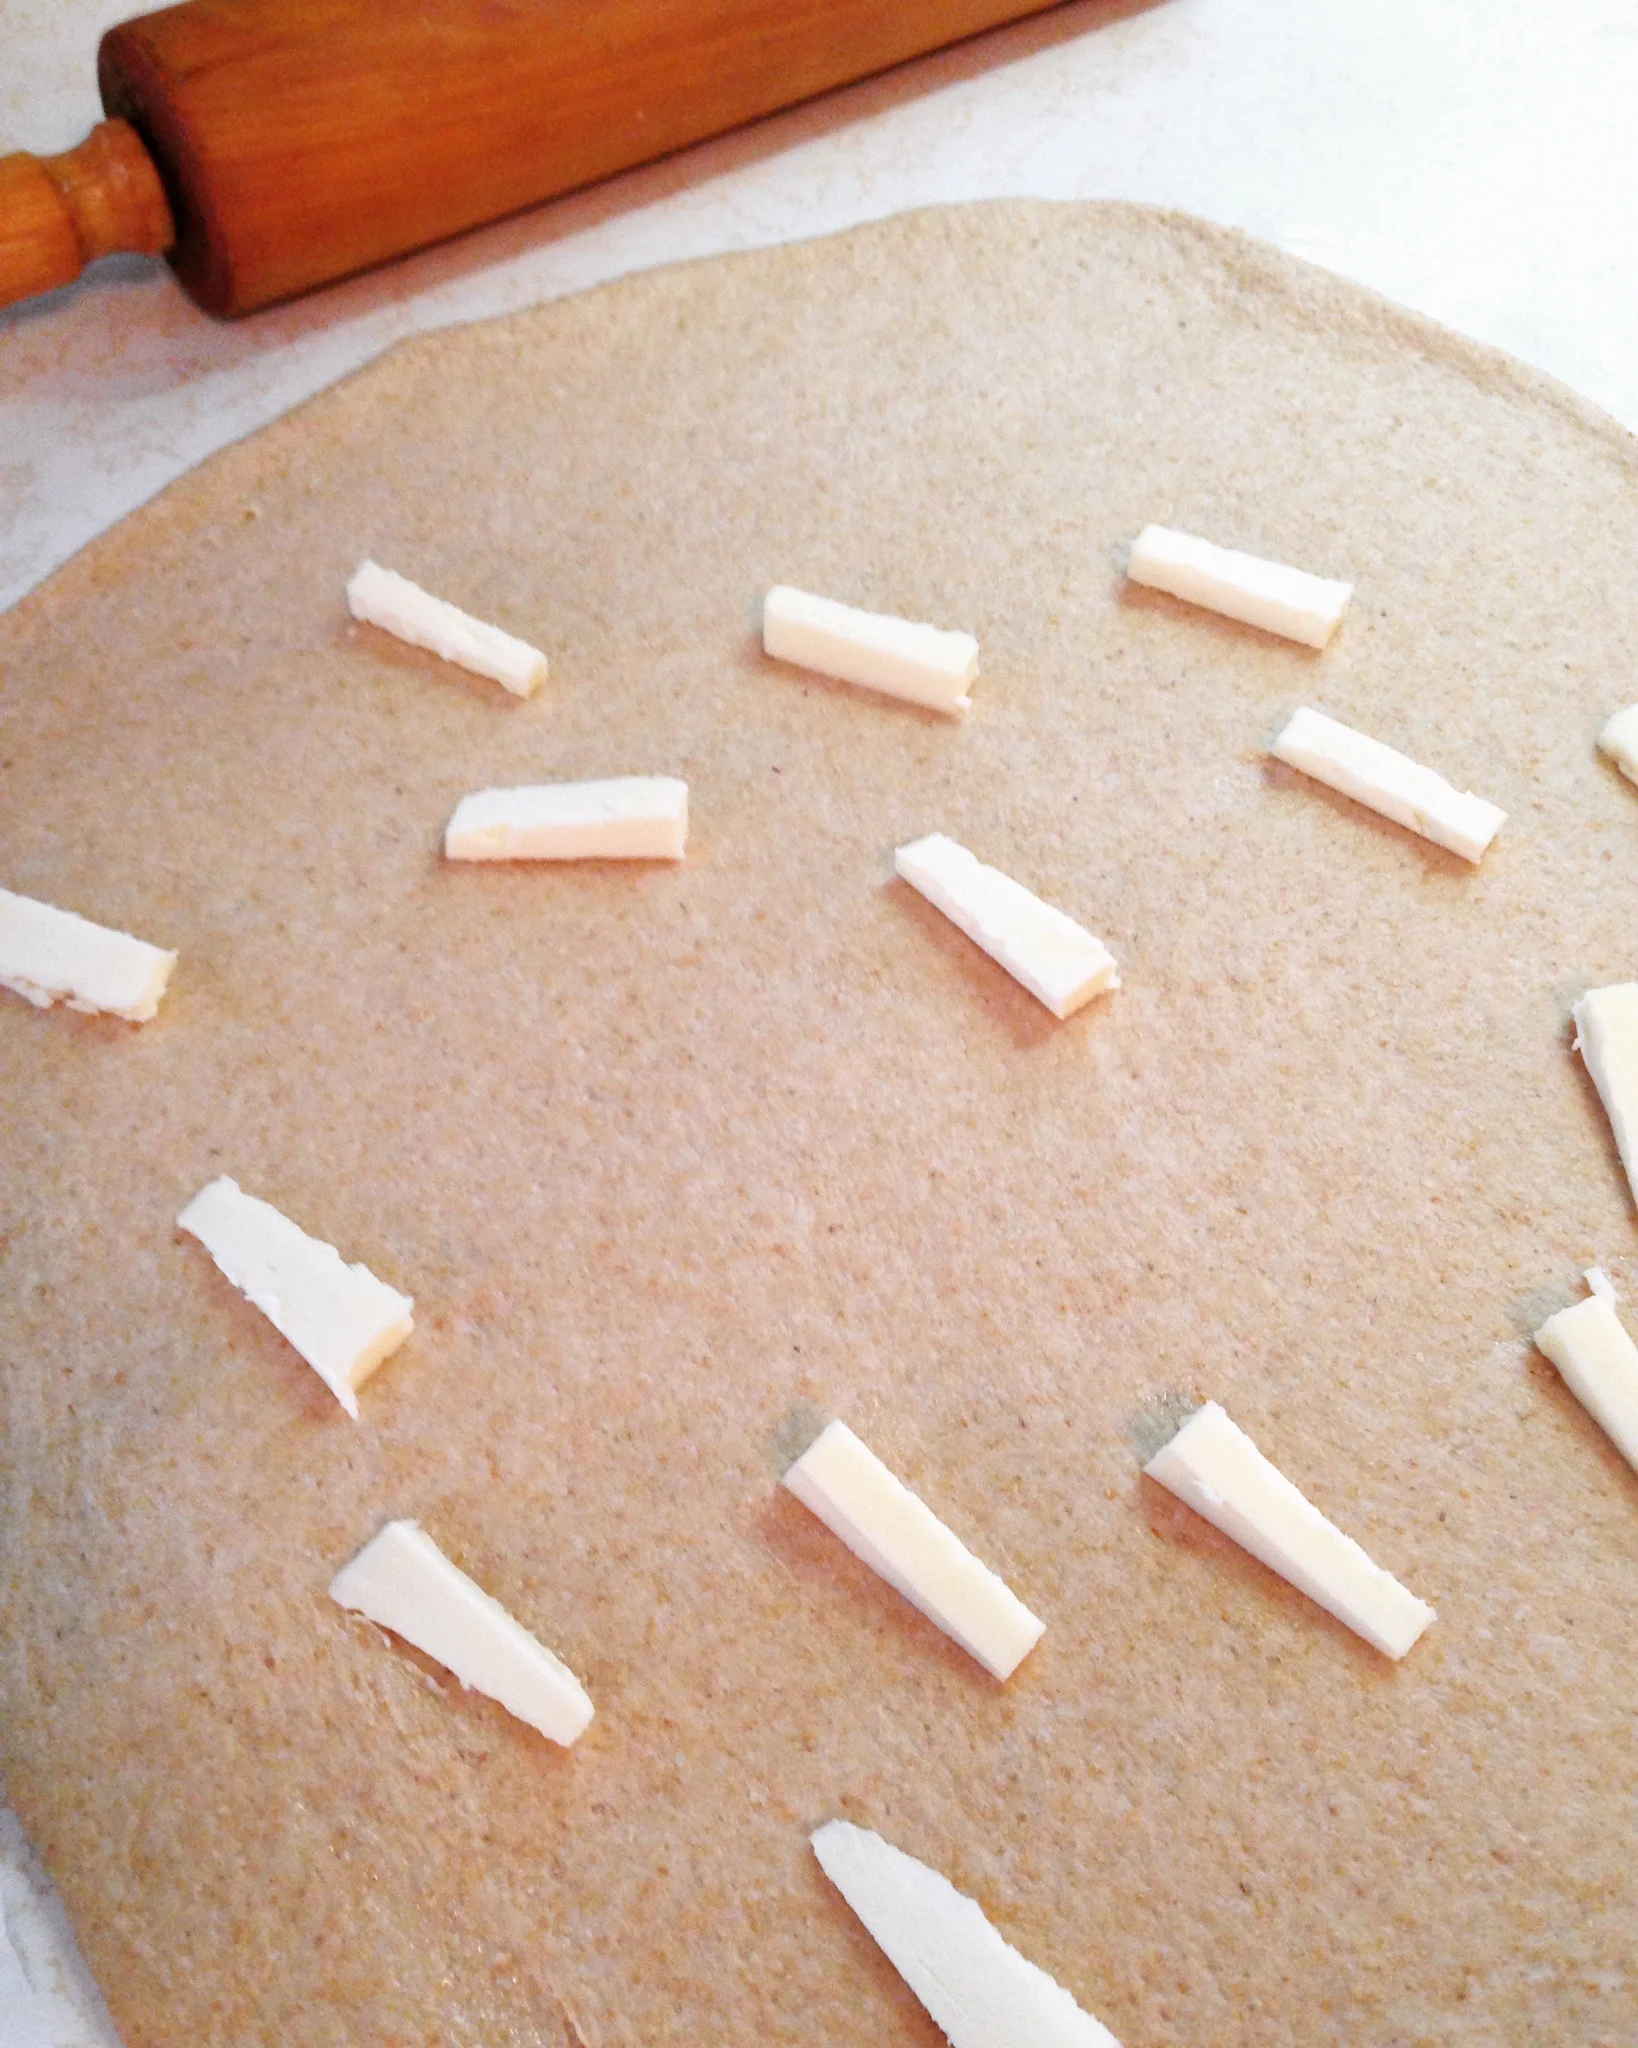
Spread with softened butter. Or if you forget to get the butter out ahead of time, like I usually do, just cut up some butter and put it on the still-warm dough. It will soften while you wash your hands, so you can get out the rest of your ingredients without getting oil and flour all over your cabinet handles.

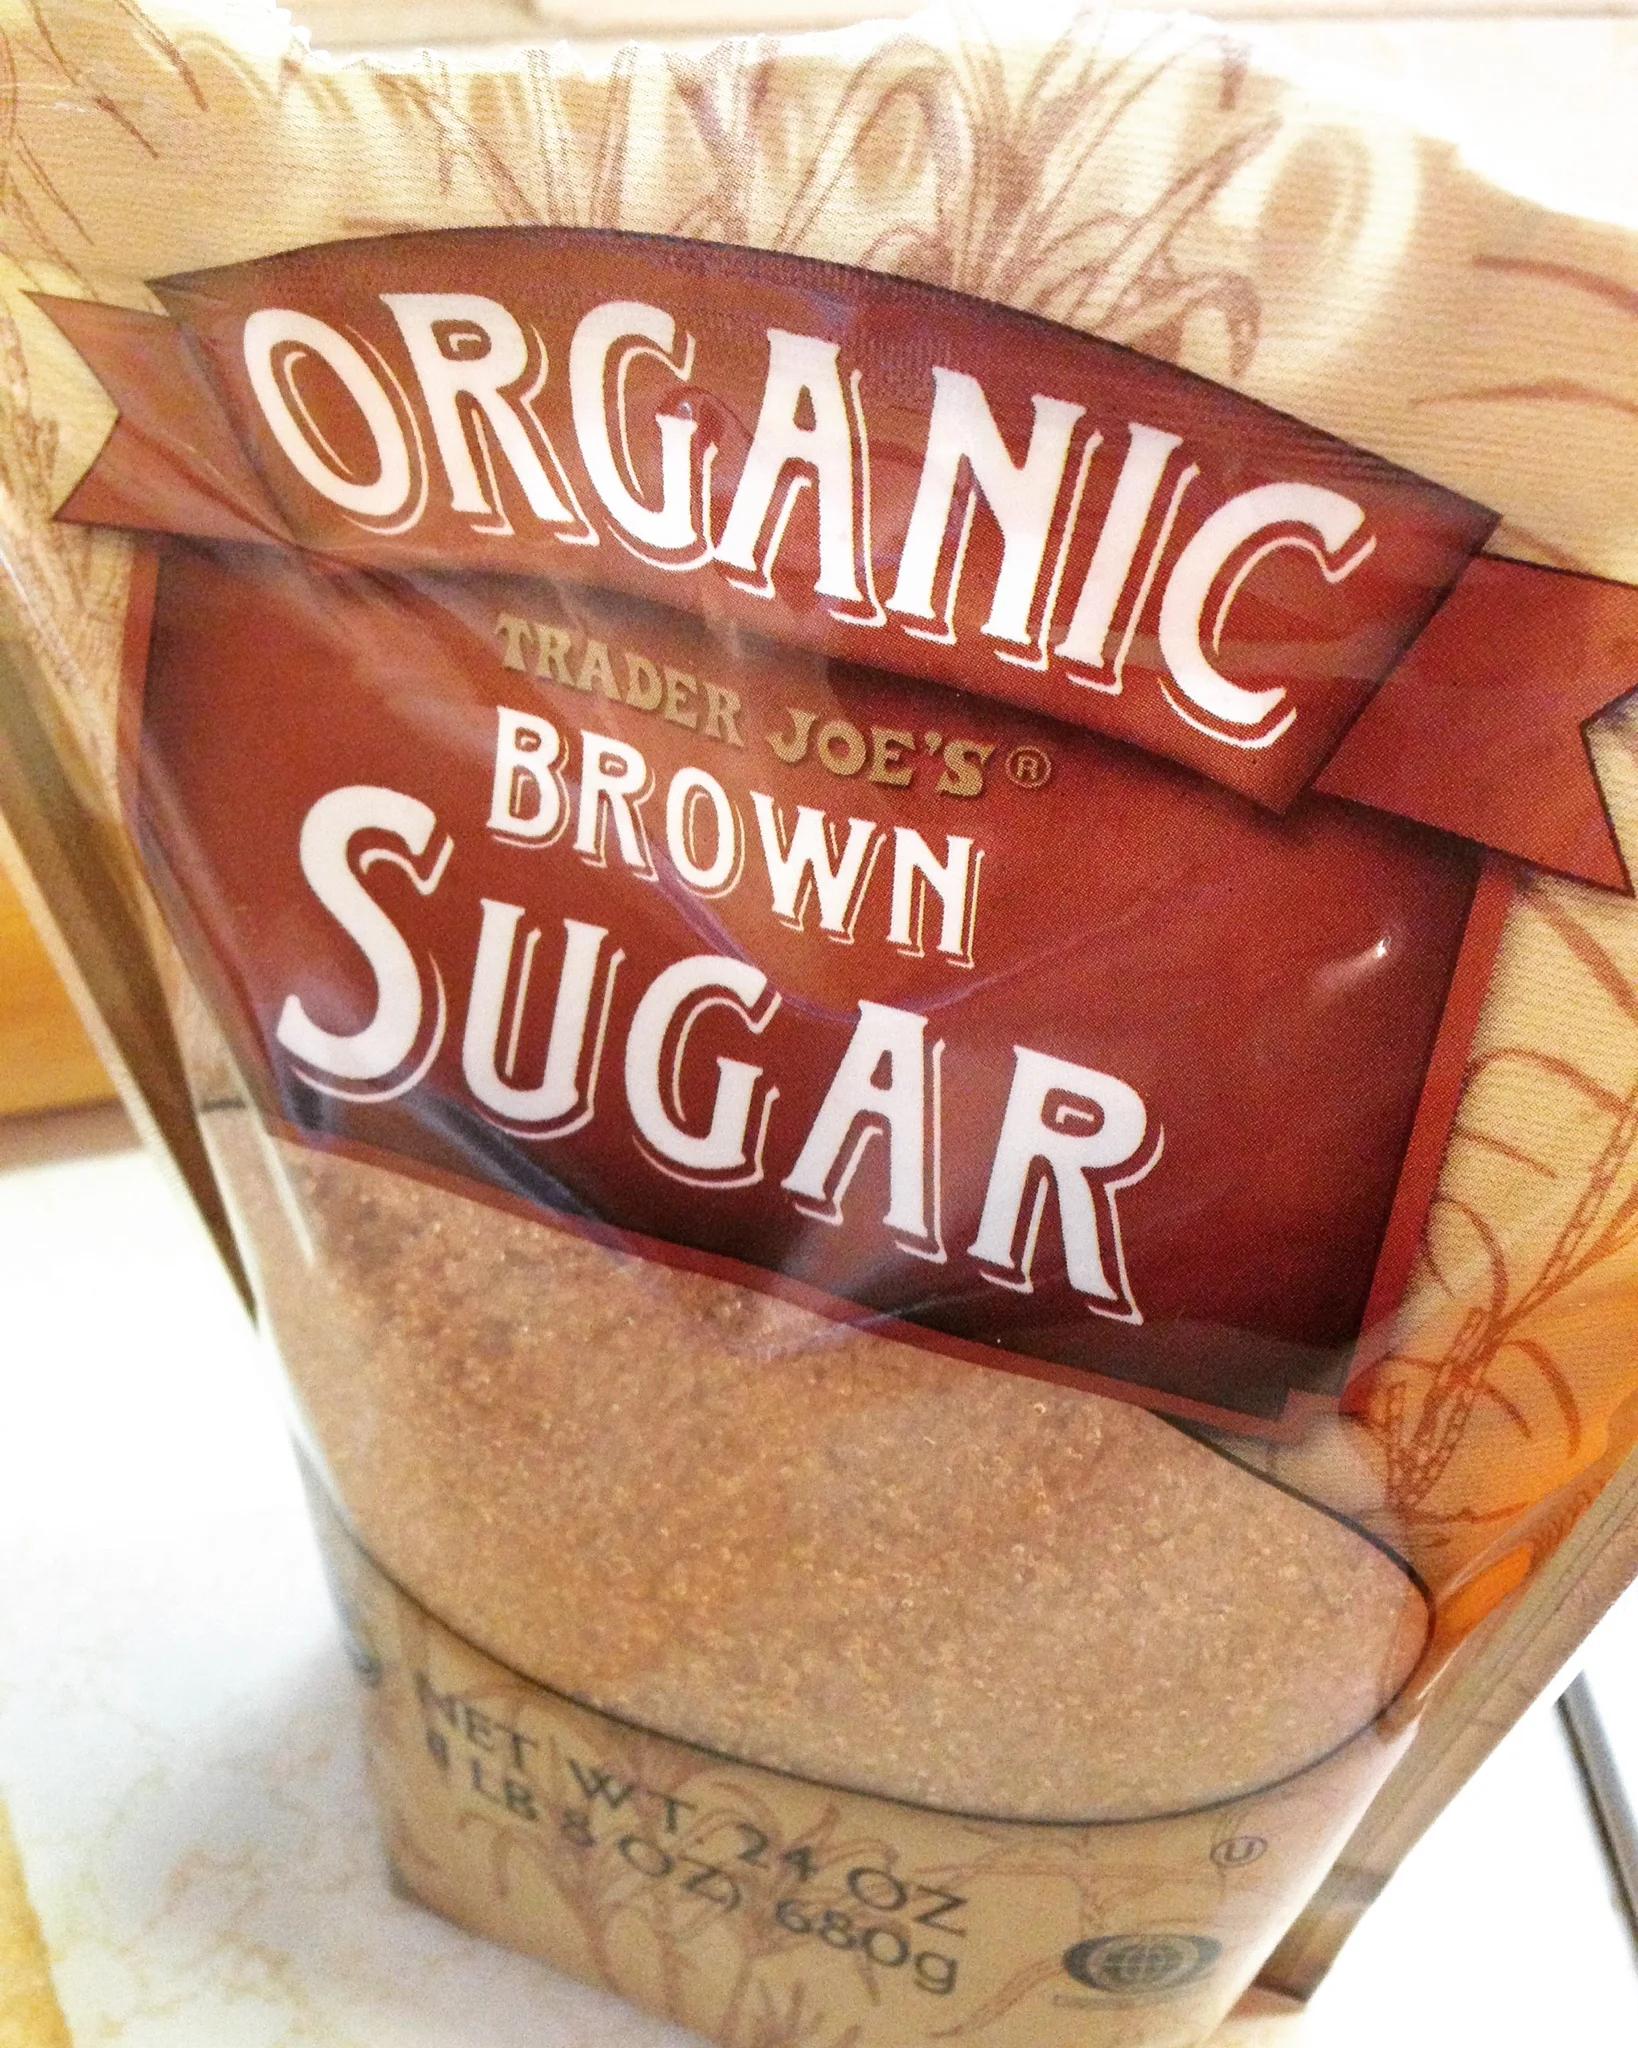
Brown sugar. Ground Cinnamon. Pecans.


And kitchen scissors. Seriously.
Now your butter should be soft and spreadable. Sprinkle brown sugar over the surface of the buttered dough.


 Sprinkle generously with cinnamon chopped pecans. (In some homes, the pecans are optional. Not ours.) 
Looks like a yummy, cinnamony pizza.


Now for the fun part. Tightly roll the dough up along the long edge until it forms a tube.


Prepare your pan, I use a round cake pan sprayed with Trader Joe’s version of PAM.


Now grab those scissors and cut the tube into equal portions. 
Pull them apart and put them into the pan to rise.


By now, your bread should be nicely risen and ready to bake. Put your pans in the oven and set the timer for 30 minutes.
Almost done!


Yum! The cinnamon rolls should be ready to bake, also at 350 degrees, as soon as the bread is done baking. Pop them in and bake for 20 minutes. Just enough time to wash the dishes and brew a fresh pot of coffee.
Enjoy!

*This Foolproof Bread recipe comes from the kitchen of my bread-making mentor, Phyllis Stanley.